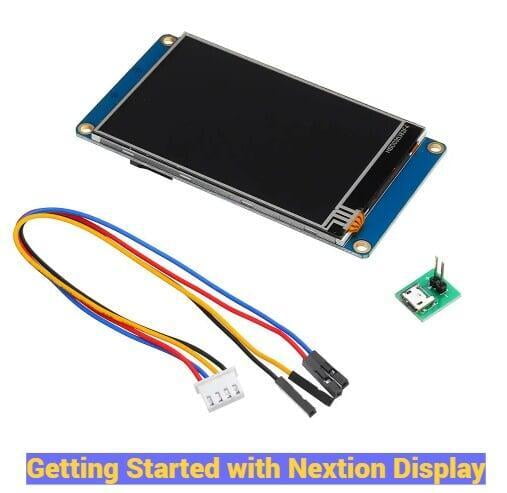
What’s Nextion
Nextion is a Human Machine Interface(HMI)solution combining an onboard processor and memory touch display with Nextion Editor software for HMI GUI project development.
Using the Nextion Editor software, you can quickly develop the HMI GUI by drag-and-drop components (graphics, text, button, slider, etc.) and ASCII text-based instructions for coding how components interact on the display side.
Nextion HMI display connects to peripheral MCU via TTL Serial (5V, TX, RX, GND) to provide event notifications that peripheral MCU can act on, the peripheral MCU can easily update progress, and status back to Nextion display utilizing simple ASCII text-based instructions.
Nextion displays are available in a variety of sizes and resolutions, and can be used for a variety of applications, such as industrial automation, home automation, etc,. It facilitates seamless integration with popular boards such as Arduino, Raspberry Pi, ESP8266, ESP32, and more.
In this blog post, we will walk you through the steps of getting started with Nextion displays. We will cover topics such as:
Installing the Nextion Editor
Creating a new project
Adding elements to your project
Programming your display
Connecting your display to your device
By the end of this post, you will have a basic understanding of how to use Nextion displays and you will be able to create your own custom HMI projects.
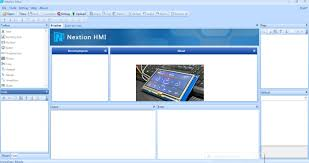
Installing the Nextion Editor
The first step is to download and install the Nextion Editor software. You can download the software from the Nextion website.
Once the software is installed, open it and you will be presented with the following screen:

Creating a New Project
To create a new project, click on the File menu and select New. This will open a new window where you can enter the name of your project and select the type of display you are using.
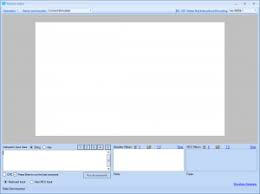
Once you have entered the project name and selected the display type, click on the Create button. This will create a new project file and open it in the Nextion Editor.
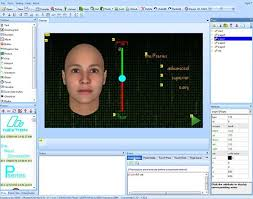
Adding Elements to Your Project
Now that you have created a new project, you can start adding elements to your display. To do this, click on the Objects tab and drag and drop the elements you want to use onto the display canvas.

You can resize and reposition the elements as needed. To change the properties of an element, double-click on it. This will open the Element Properties window.
Programming Your Display
Once you have added the elements you want to use, you can start programming your display. To do this, click on the Script tab and enter the code you want to use.
The Nextion Editor supports a variety of programming languages, including C, C++, and JavaScript. You can also use the built-in function library to access a variety of functions, such as reading and writing to the display, controlling the backlight, and more.
Connecting Your Display to Your Device
To connect the display to the microcontroller there’s a need of some Hardware components:
The Hardware requirements include the Nextion display module, a power supply, a microcontroller or development board, and the necessary cables for connection. Ensure that you have the correct display model and check the documentation for any additional requirements.
Once you have programmed your display, you can connect it to your microcontroller. The type of connection you use will depend on the device you are using. For example, if you are using an Arduino, you will use the Arduino IDE to show the data on the display through arduino program..
Once the display is connected, you can start using it. To do this, you will need to send commands to the display using the Nextion Editor. The commands you need to send will depend on the code you have written.
For more information on using Nextion displays, please refer to the Nextion documentation.
Examples of Nextion Displays
Here are some examples of Nextion displays that you can use for your projects:
NX3224T028 2.8" HMI LCD Touch Display
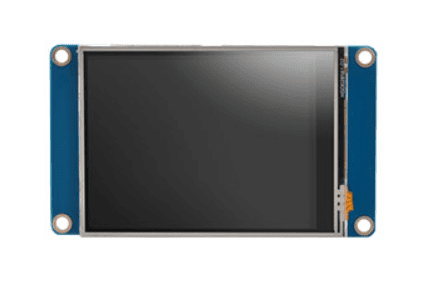
Operating Voltage: 5 to 7 Volt
Operating current: 65mA
Resolution:-320×240 pixel
Flash memory: 4mb
Ram: 3584byte
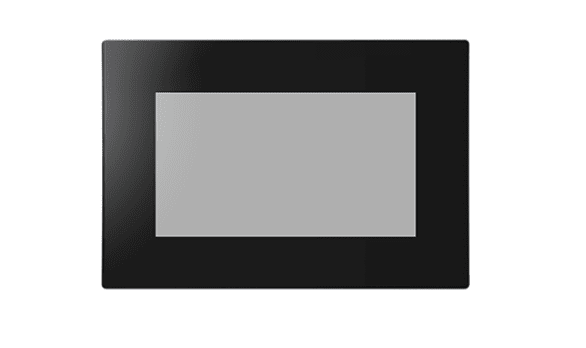
NX8048T050 5.0" HMI TFT LCD Touch Display
.

Specifications of NX8048T050 5.0" HMI TFT LCD Touch Display:-
Operating Voltage: 5 to 7 Volt
Operating current: 410mA
Resolution:-800×480 pixel
Flash memory: 16mb
Ram: 3584byte
NX8048P070-011C-Y 7.0" HMI Capacitive Touch LCD Display with Enclosure
NX8048P070-011C-Y 7.0" HMI Capacitive Touch LCD Display Specifications:-
Operating Voltage: 5 to 6.5 Volt
Operating current: 750mA
Resolution: 800×480 pixel
Flash memory: 120mb
Ram: 512kb
For more Nextion Displays and details visit CampusComponent!
Conclusion
Nextion displays are a versatile and affordable option for HMI displays. They are easy to use and can be programmed and connected with different microcontrollers. If you are looking for a HMI display for your next project, then Nextion is a good option to consider.
If you are interested in purchasing a Nextion display, then you can purchase from Campus Component today! Campus Component is a leading supplier of Nextion displays and other electronic components. They offer a wide variety of Nextion displays to choose from and they have a team who will help you with your project.

